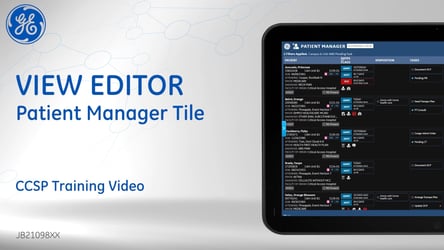
This video shows how you can apply filters and move the widgets on the Patient Manager Tile to fit your needs. With both the ‘before’ and ‘after’ Tile designs visible onscreen as you make your changes, it’s easy to create the profiles that work best for you.
Notes:
Tamas Fixler:
View editors within Patient Manager allow the user to edit the layout of the Tile. To access the view editors, hit the settings button in the bottom right.
Go to the advanced settings pane and select the view that you want to edit. In this case, let's edit rounding view.
Once in the view editor, at the top you'll see your existing layout and on the bottom, you'll see the widgets or content elements that can be added to the layout.
In this case, let's say you want to split the tasks widget into two, one to show incomplete tasks and the other to show completed tasks. To do that, I'll resize this tasks widget to take up half the space and click the gear icon to edit the content within it.
I can apply a filter to show only completed tasks. Note that this filter does not change the patients that I will see on the Tile, it will only change the content that I see for those patients.
I can also go to widget settings to rename this ‘completed tasks’. I'll click done, and now I'll drag another copy of the tasks widget into the layout. And here I'll apply a filter, the same filter to show only incomplete tasks, and I'll rename this one ‘incomplete tasks’.
And click done. And now I will resize this to take up the remaining space. And now you can see, I have two copies of the tasks widget, or content element, one to show incomplete tasks, the other to show completed tasks.
Of course, I can also edit any of the existing widgets while I'm in here. Once I've completed my edits, I'll hit ‘save profile’ and close, and that'll return me to the Tile, where now you can see that I have two copies of the tasks widget, one showing incomplete tasks on the lift and the other showing completed tasks on the right.


